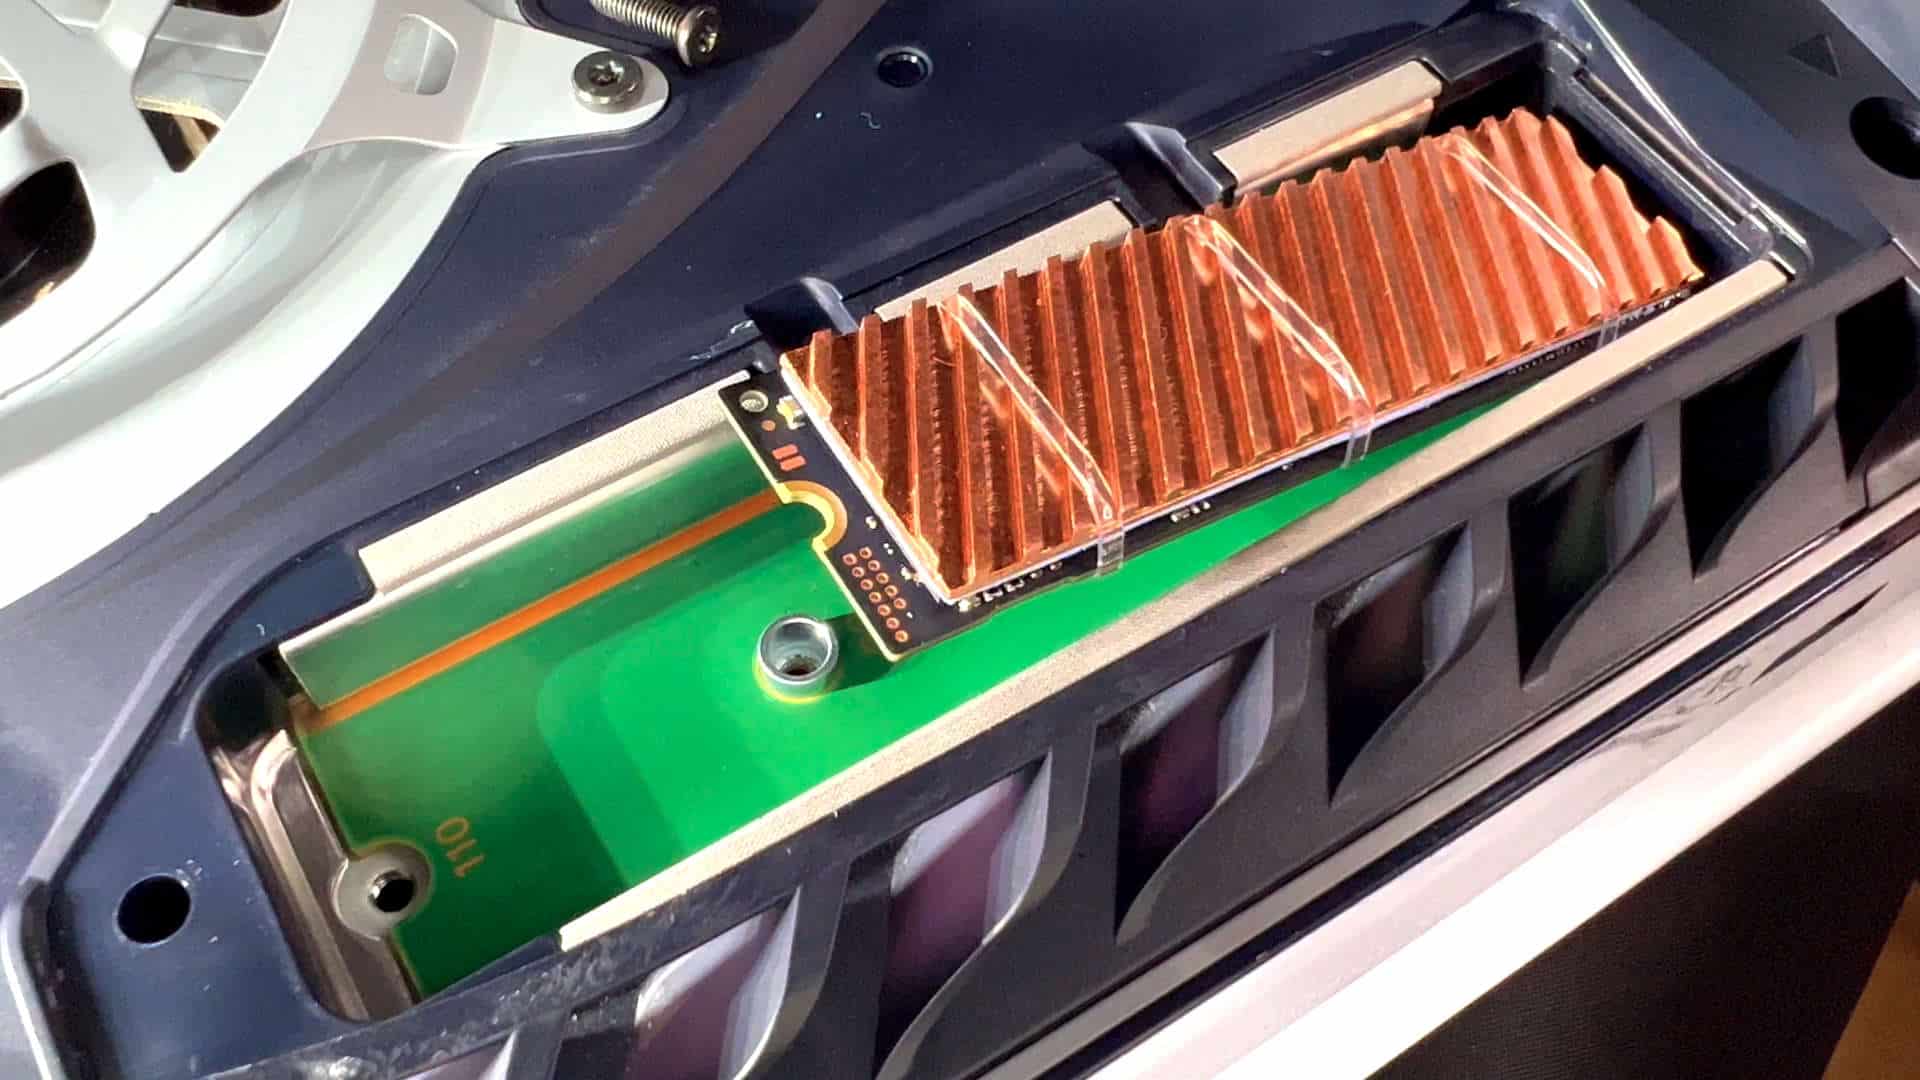
You now have your Samsung 980 Pro SSD in your hands and you’re ready to expand the storage on your PS5 console. If your SSD doesn’t have a heatsink, make sure to check out our guide on how to install the heatsink onto the Samsung 980 Pro SSD here. Installing your SSD into your PS5 is so simple especially if you followed our guide and purchased a heatsink that won’t give you issues when mounting it onto the console. You can grab the heatsink and SSD from Nexus here. Keep in mind that these heatsinks were impossible to find so Nexus imported a few to save you the hassle.
We are going with the Samsung 980 Pro SSD. This is a 2TB model and is PS5 compatible. It can reach speeds of up to 7000MB/s which makes it perfect for the console. You will also need the SSD to have its heatsink installed already, be it out of the box or by you manually installing it. You also need a Phillips screwdriver to get into the expansion bay.
Check out our video guide on how to install the Samsung 980 Pro SSD on the PS5 below
It goes without saying that you should power down your PS5 and unplug it. Lay it down flat on a surface so that that the PlayStation logo is underneath. Sony also says you should touch something metal to get rid of any static you might have on your body so find something and touch it.
To slide off the cover you need to grab the top back part of the white faceplate. This is the part at the back of the console by the ports. Lift it up by bending it upwards and at the same time pull the bottom of the faceplate with your other hand. This will slide the faceplate off the console. It may require a slight tug to get it off.
Once off, you will see the M.2 expansion slot on the PS5 that is sealed with a black PlayStation screw. Unscrew this using the Phillips screwdriver and remove the metal casing. Inside, you will see the expansion bay with four holes and a screw at the top of the slot. This screw also holds the spacer. Unscrew this and place the screw somewhere safe. Now, take the spacer out of the default slot and put it into the slot you will use for your SSD.
The Samsung 980 Pro SSD will fit perfectly in the number 80 slot so place the spacer there. Now, take your SSD and place it into the expansion bay by sliding it down into the slots located on the right-hand side. It will float in the air. You now need to fasten it down by pushing it towards the console and replacing the top screw in the slot where the spacer is. Your SSD is now installed so you can put the expansion bay case back on and screw it closed.
Take the PS5 faceplate and place it back onto the console. However, you need to slide it in the opposite direction this time. Push down firmly on the middle of the faceplate with one hand while you push the bottom of the plate onto the console with the other hand. It will click meaning it is back on.
Once done, you can now plug your PS5 back in and turn it on. When it is powered up for the first time after installing the Samsung 980 Pro SSD, it will prompt you to format the SSD for the console. Follow the instructions and once completed, your SSD is now installed and ready. You can now copy games to it from an external device or the PS5 internal storage and play these games directly from the console itself. Copying games will be faster than before and launching them from the SSD expansion drive won’t be any different.
We will have a full hands-on review for the Samsung 980 Pro SSD up soon related to the PS5 and how the storage device performs on the console.


